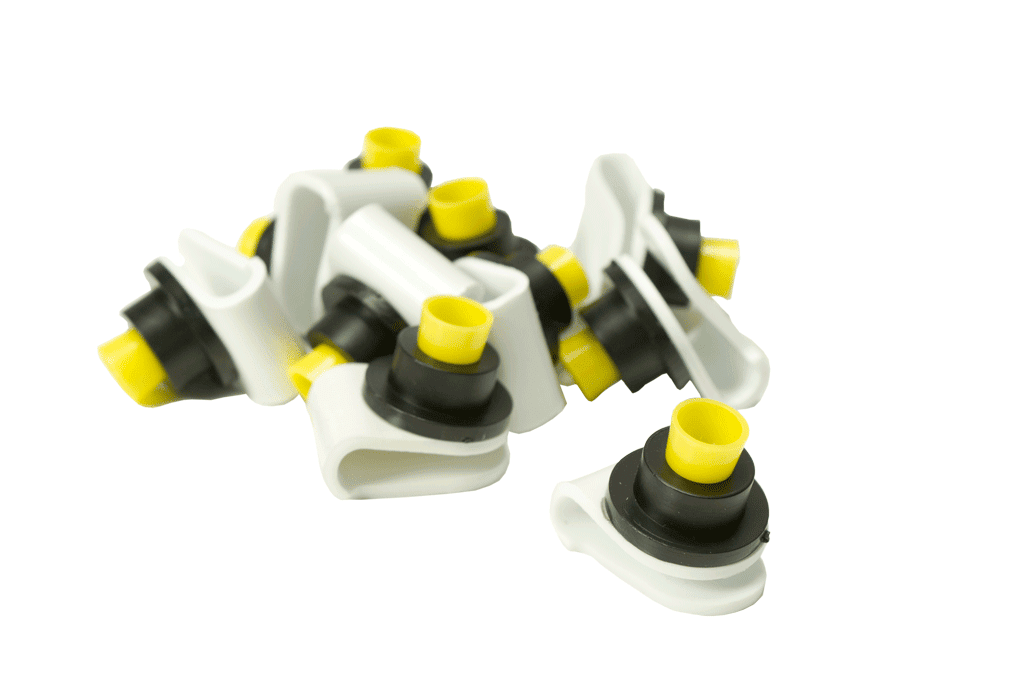
Queen-cell cup with holding clip (10 pcs)
SKU 3098R
$16.00
Price incl. GST (10%) $1.45
Buy and save
Buy and earn $0.01 Loyalty for your next purchase
Loyalty is a discount program that lets you buy products and earn points to redeem on your next purchase. Your Loyalty balance is updated when you pay online or in-store. The Loyalty amount shown on this page can be recalculated at the checkout.
In stock
Product Details
Brand: LYSON
Queen-cell cup with holding clip (10 pcs). Can be used with hair roller cages.
How to use:
- Prepare the Queen Rearing Frame: The queen rearing frame is designed to hold the queen cell cups. This frame is usually made of sturdy material like pine and features grooves or bars where the cell cups can be attached.
- Attach the Queen Cell Cups: For cell cups with built-in clips, the process is simplified compared to traditional methods that might require melted beeswax for attachment. The built-in clips are designed for easy attachment to the frame. You would clip the queen cell cup directly onto the designated area on the frame, ensuring it is securely in place. The clips eliminate the need for additional materials or tools for securing the cups.
- Grafting the Larvae: Once the cell cups are securely attached to the frame, the next step is to graft young queen larvae into each cup. This is a delicate process that involves transferring a very young larva (usually less than 24 hours old) into the cell cup using a grafting tool.
- Place the Frame into a Queen Cell Building Box: After grafting, the frame with the attached and filled queen cell cups is placed into a queen cell building box or a strong colony set up for queen rearing. This environment should be conducive to queen rearing, often being queenless and broodless to encourage the worker bees to feed and care for the grafted larvae in the queen cell cups.
- Monitoring and Care: Over the following days, the larvae in the cell cups will be fed royal jelly by the worker bees, and the queen cells will develop. It's important to monitor the progress and ensure that the environment remains conducive to queen rearing. After approximately 10 days, the queen cells will be capped, and within a few more days, new queens will emerge.
- Final Steps: Once the new queens are ready, they can be introduced into new or existing colonies as needed. Care should be taken during the introduction process to ensure the safety and acceptance of the new queen by the colony
Save this product for later
Queen-cell cup with holding clip (10 pcs)
Display prices in:AUD

